How To Document Water Damage for an Insurance Claim
Claims are decided on evidence. Most of the evidence that matters can only be gathered in the first few hours — before anyone starts cleaning up.
Insurance adjusters are not adversaries, but they are decision-makers working from a file. What's in that file determines what gets paid. And the single most valuable material in it — photographs taken before anything was moved or cleaned — can only be captured once.
Here's what to gather, in order, and what a good restoration company should be adding on their side.
Dealing with this right now? We answer 24/7.
Free assessment · 60-minute emergency response · We bill your insurance carrier directly
Before you touch anything
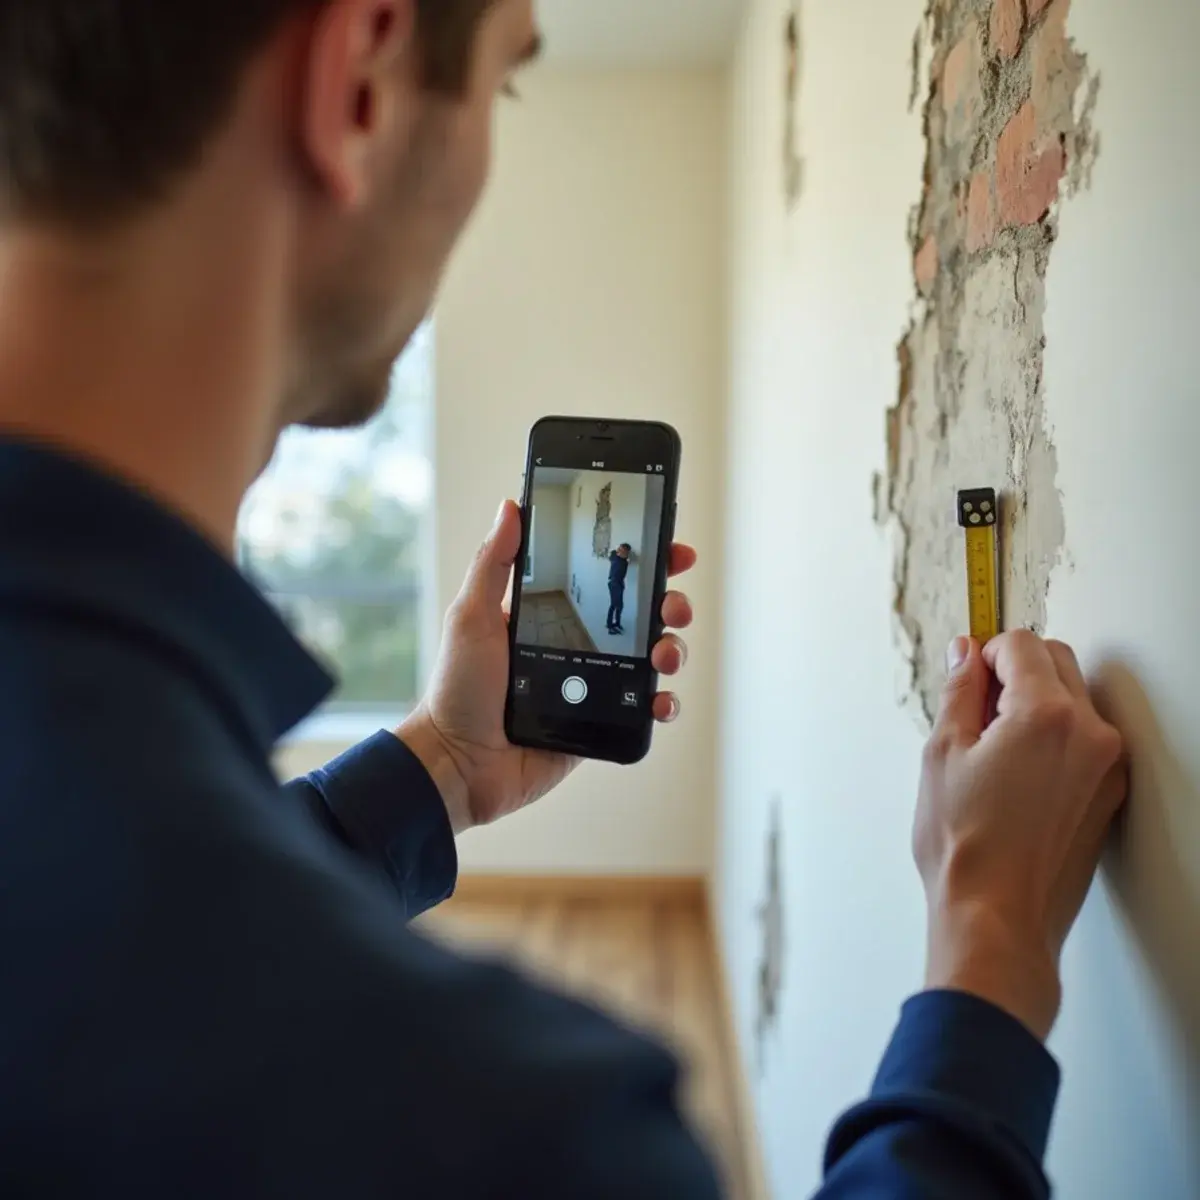
Photograph first. Wide shots of every affected room from multiple angles, then closer shots of specific damage. Include shots that establish context — a doorway showing the water line continuing into the next room, for example.
Photograph the source: the failed pipe, the appliance, the ceiling opening, the point where storm water entered. This is what establishes cause, and cause is what determines coverage.
Capture the water line on walls, furniture and baseboards. Put something in frame for scale where it helps — a tape measure is ideal.
Take video as well, walking through the property and narrating what you're seeing and when. Video captures relationships between spaces that stills miss, and the narration timestamps your account.
Only after this should you start moving contents or removing water. The first hour checklist in our emergency water damage guide puts documentation in the right place in the sequence.
Establish the timeline
Write down, while it's fresh: when you discovered the damage, when you last saw the area dry, when you shut the water off, when you called your insurer, and when the restoration company arrived.
This matters because coverage turns on sudden and accidental versus gradual. A slab leak discovered when a floor got warm is sudden from the homeowner's perspective even if the pipe had been leaking for weeks — nobody could reasonably have seen it. Being able to state clearly when you last had normal conditions supports that.
Keep a simple running log through the whole claim: dates of adjuster calls, names of people you spoke with, what was said and agreed. It costs nothing and it's invaluable if anything gets disputed.
Call +1 (201) 277-9344 — 24/7 in Glendale
Free assessment · 60-minute emergency response · We bill your insurance carrier directly
Contents: the part that gets underpaid
Contents claims are underpaid more often than structure claims, and the reason is almost always documentation. A list that says "living room furniture" gets a generic allowance. An inventory with photographs, descriptions, approximate age and condition gets itemized.
Photograph each significant item individually, especially items that are clearly non-salvageable. A dumpster photo isn't evidence of what was in the dumpster. Include enough detail to identify make and model where relevant.
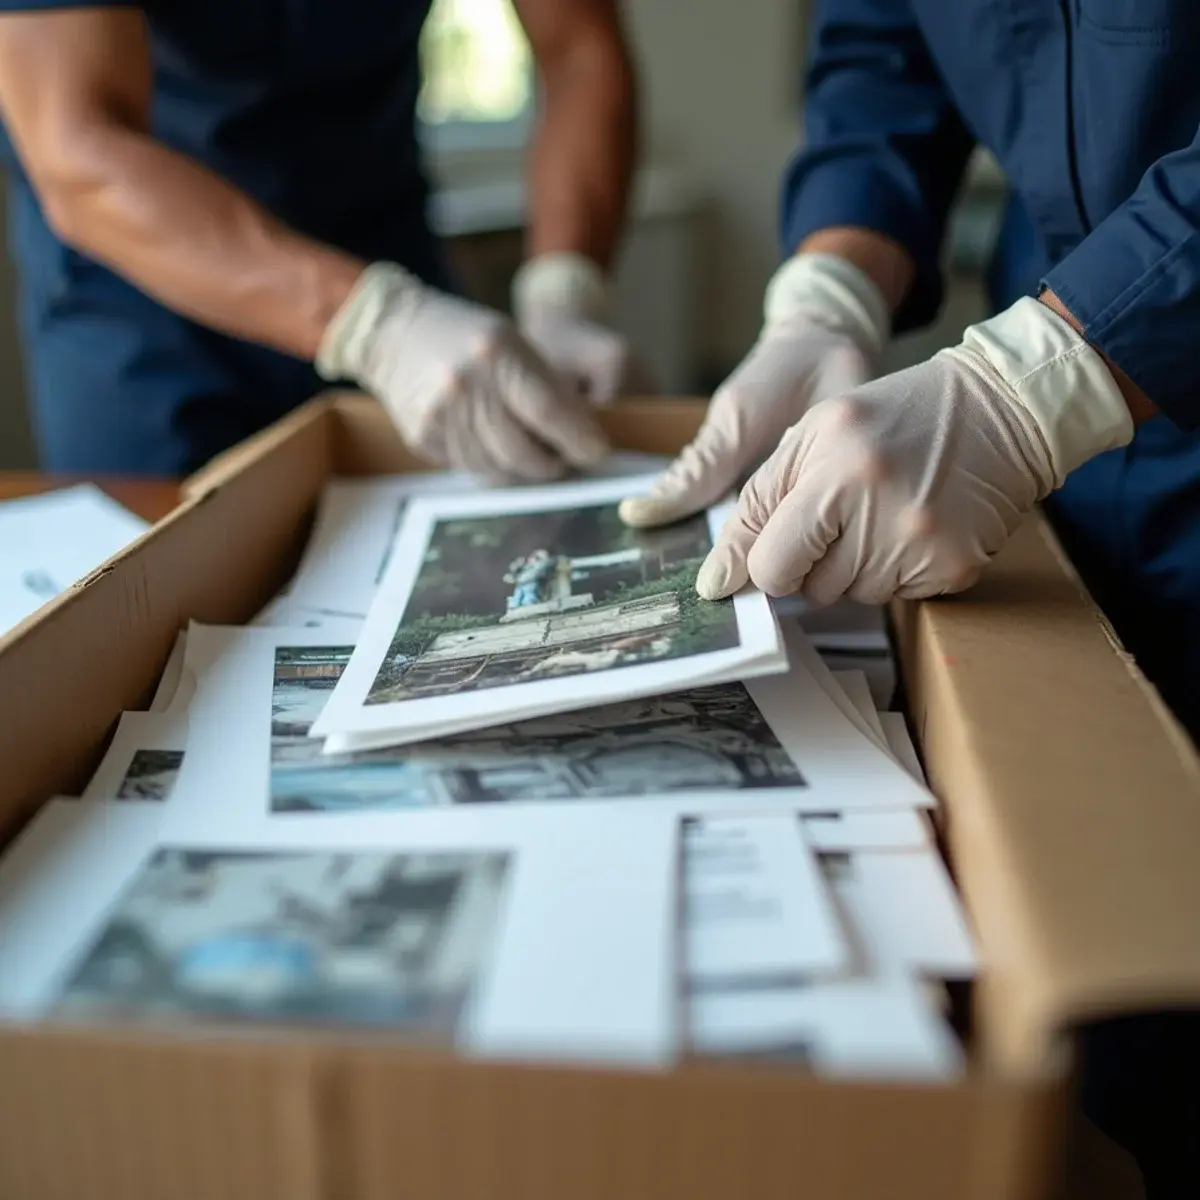
Gather what supporting evidence exists: receipts, credit card records, product registration emails, and — often overlooked — old photographs of your rooms that happen to show belongings in the background.
Our contents pack-out service includes a room-by-room photographic inventory as standard, which you and the adjuster both receive.
What your restoration company should be documenting
A professional job produces its own evidence file, and you should receive a copy:
- Pre-mitigation photographs of every affected area, taken before work began.
- A moisture map showing the affected footprint, including areas that aren't visibly wet.
- Water category and class classification, with the reasoning.
- Daily readings: material moisture content, temperature, relative humidity and grains per pound.
- An equipment log showing what ran, where, and for how many hours.
- Photographs of any demolition, showing conditions behind removed materials.
- A line-item estimate in the format carriers use, so the scope can be approved without translation.
- A final verification reading demonstrating the structure reached dry standard.
Working with the adjuster
Ask for the adjuster to inspect while equipment is still running and demolition is still visible. Once a wall is closed up, the evidence of what was behind it is gone, and disputes about scope become much harder.
Have your restoration contractor present for the inspection if possible. A technician who can explain why a particular material had to come out, and point to the moisture reading that justified it, resolves questions on the spot rather than through three rounds of email.
If you disagree with an estimate, say so specifically and with evidence — this line item is missing, this measurement is short, this material requires this treatment because of the water category. Supplements are a normal part of the process, not a fight.
And know that in California you choose your own contractor. Preferred vendor programs are a convenience, not a requirement, and choosing your own does not affect coverage.
Mistakes that cost money
Cleaning up before photographing. The most common and the most expensive.
Throwing away damaged items before they're documented. Even obvious total losses need individual photographs.
Waiting for approval before starting emergency mitigation. Your policy requires you to prevent further damage, and mitigation costs are covered — delay can reduce what's paid for damage that followed.
Making permanent repairs before the adjuster inspects. Emergency mitigation is expected; drywall and paint are not.
Accepting a first estimate without reading the line items. Compare it against what was actually removed and dried.
Not asking for the moisture log at the end. It's your proof the structure was properly dried, and it matters at resale.
Frequently asked questions
More than feels necessary. Digital storage is free and you cannot go back. As a benchmark, a single affected room deserves ten to twenty images between wide shots, detail shots and contents.
For large or complex losses, or a claim that's stalled, they can be worth the percentage they charge. For a straightforward covered loss with a competent contractor documenting properly, most homeowners don't need one.
This is common and usually resolvable. Have your contractor provide a line-item comparison identifying what's missing or under-measured, with the moisture and photographic evidence supporting each item. Most gaps close through supplement rather than dispute.
The bottom line
The evidence that decides your claim is gathered in the first hours and then built on throughout the job. Photograph before you clean, write down the timeline, inventory the contents individually, and insist on daily documentation from whoever does the work.
Drycore Restore documents every job to the standard carriers expect and provides the complete file to you. Call +1 (201) 277-9344.
Related services
- Contents Pack-Out & Restoration in Glendale
- Water Damage Restoration in Glendale
- Water Damage Repair & Reconstruction in Glendale